Forms / Datasheets
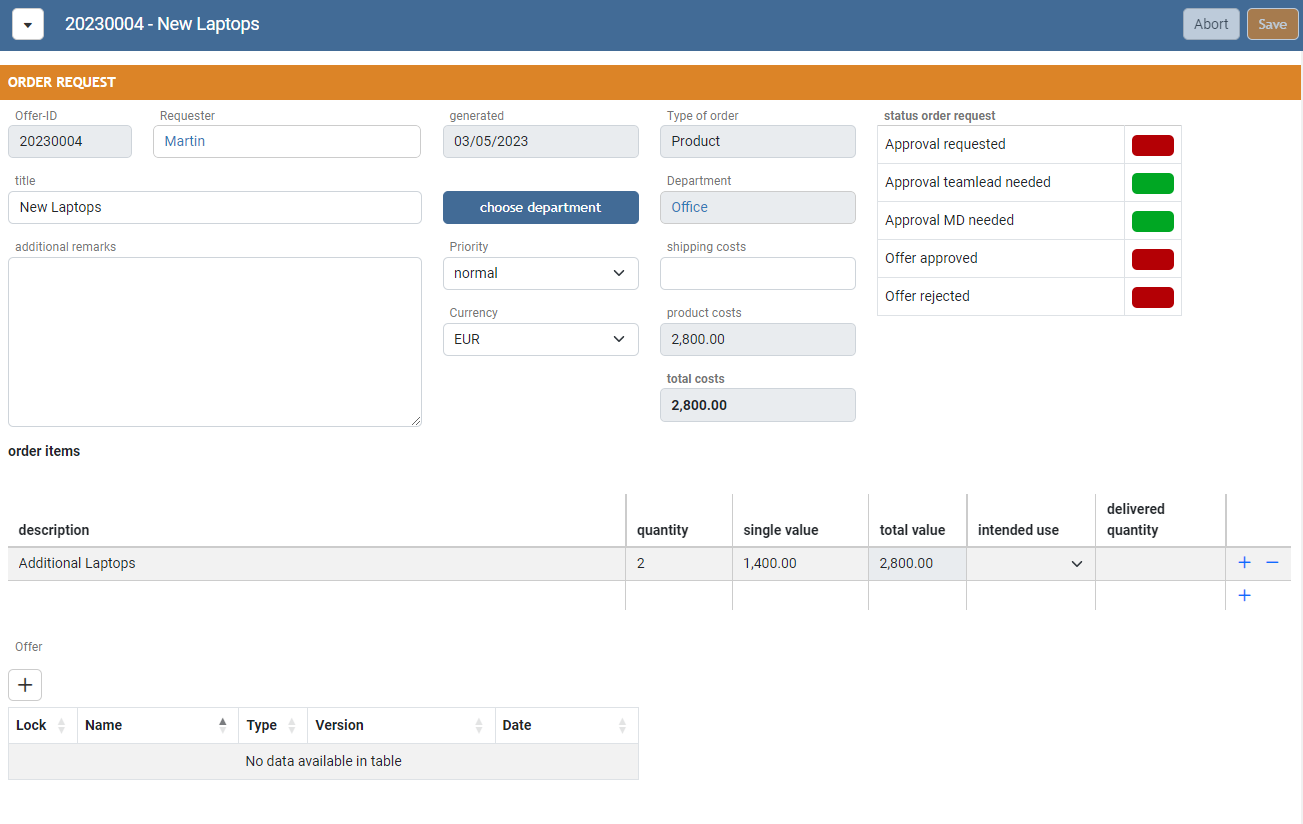
The form / datasheet shows the layout and content defined by the modelling user. All user input takes place here. Each form has a form menu.
Tabs
A datasheet can have multiple tabs. Those tabs can be used to show different layouts of a form, for example to show multiple pages of a form or to allow different views for different user roles. Depending on the role of your user you might not see all tabs.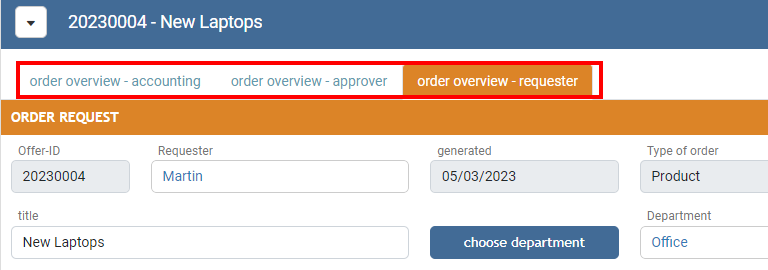
Form Fields
A form can include many different form field types like text input or number fields.
Form fields can have different attributes on each form. Required fields will be highlighted with a red frame around the input box. It is not possible to save a datasheet if required filds are empty.
Locked fields will be shown with a grey background. In most cases this fields will be automatically filled by the application. Sometimes a locked field is editable for users on a different form tab.
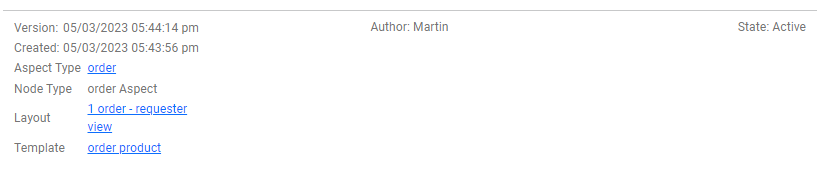
Footer
The footer of each form includes information of the last changes of the form and it's state.

The footer for admin users and power users also includes information and references of the datasheet type and layout.
Form Menu
Every form includes a separate form menu which can be opened by clicking the menue icon:
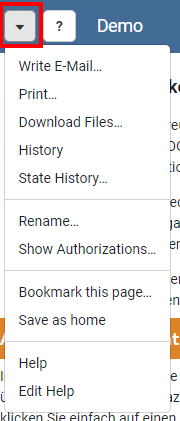
The features shown in the menu depend on the users permissions. Some of the features are only available for admin or power users.
Write E-Mail
Opens the E-Mail dailogue. Multiple recipients can be added as a comma seperated list.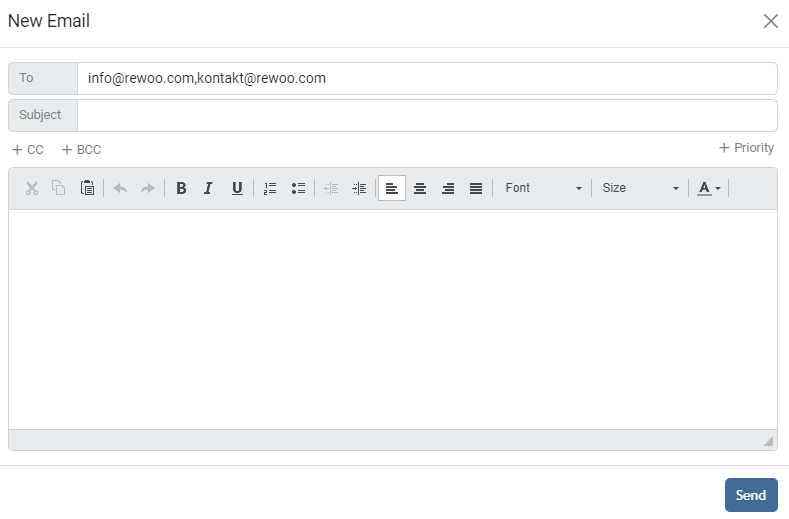
Write Message
Opens a dialogue to write a system internal message. Meesages don't need you to add recipients manually. The system will automatically detect all relevant recipients (all users who have access to the corresponding form)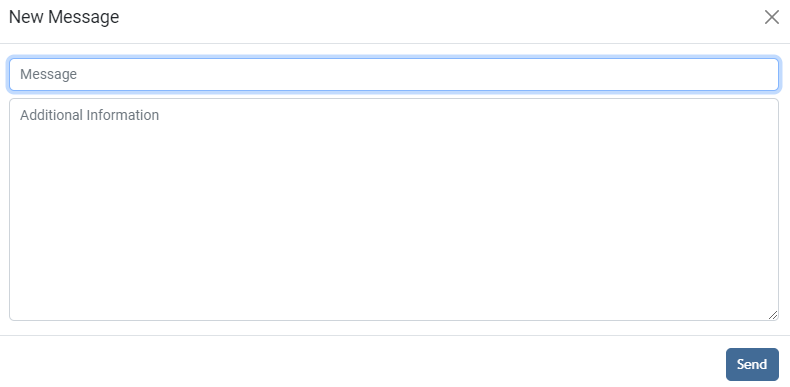
History
Shows the history of all changes made to the current form.
State History
Shows the history of all state changes of the current form.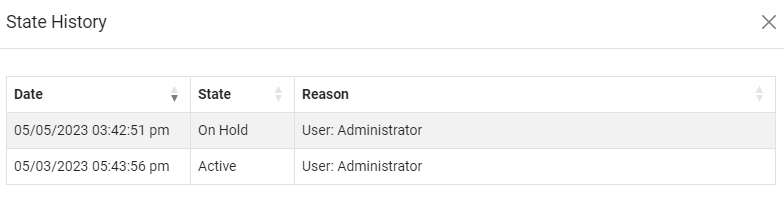
Unlock Fields
This item is only available for admin user and power user.
It will unlock all locked fields on the datasheet which don't include a formular.
All Values
This item is only available for admin user and power user.
Opens the "All Values" page of the form. This page includes a list of all available fields of the corresponding type and their values. This can be helpful for modelleing users to analyze support cases or make adjustments to templates.
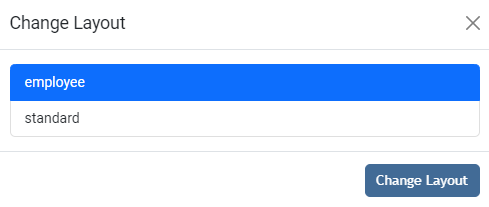
Change Layout
This item is only available for admin user and power user.
It allows to change the Layout of the current form.
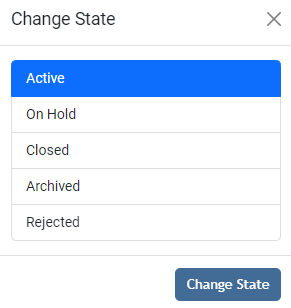
Change State
This item is only available for admin user and power user.
It allows to change the state of the current form.
Reference to Clipboard
This item is only available for admin user and power user.
Copies the reference of the current form to the clipboard.
Show Authorization
Opens a dialogue to show the list of users which can access the form.
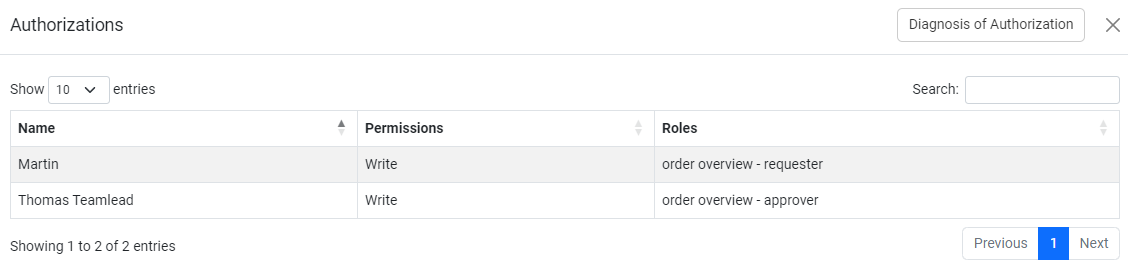
Diagnosis of Authorization
This item is only available for admin user and power user.
Opens a dilogue which shows the path of connections of users who can access the form. In most cases this is only needed for support cases.

Bookmark this page
Saves the current form as a bookmark within REWOO Scope. After clicking the menu entry you can set a name for the bookmark. By default it is the name of the form.
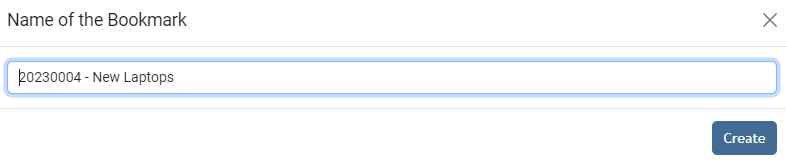
Bookmarks are accessible via the bookmark menu in the main menu.
Save as home
Allows the user to change the personal home to the current form. The users home will be shown after logging into REWOO Scope or by clicking on the Home menu item in the menu bar.
Edit a Form
To edit a form the user need write permission on the form. Changing a value of any form field activates the save button of the form. To save your changes just click on save.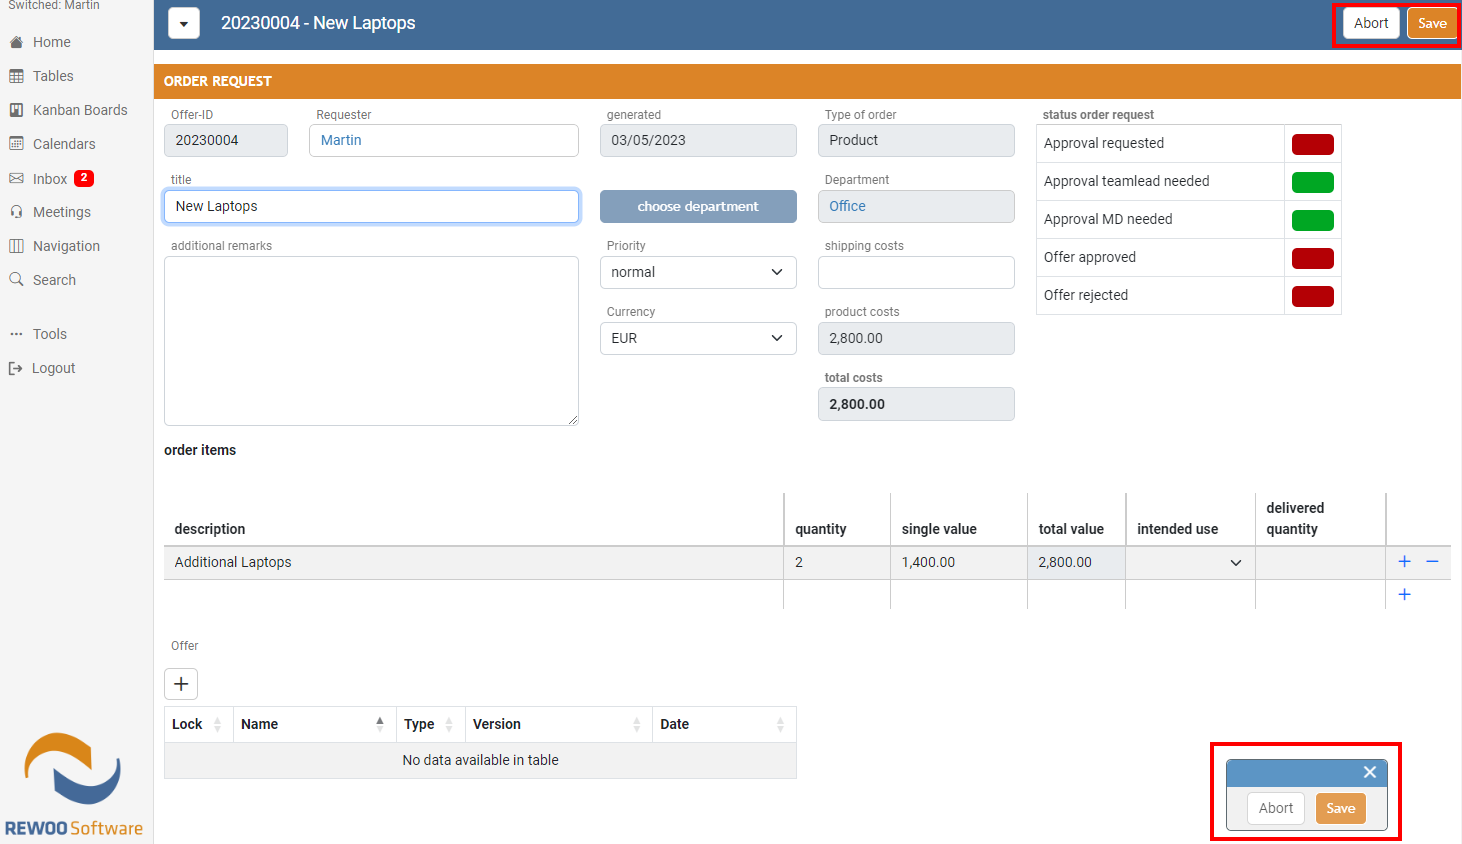
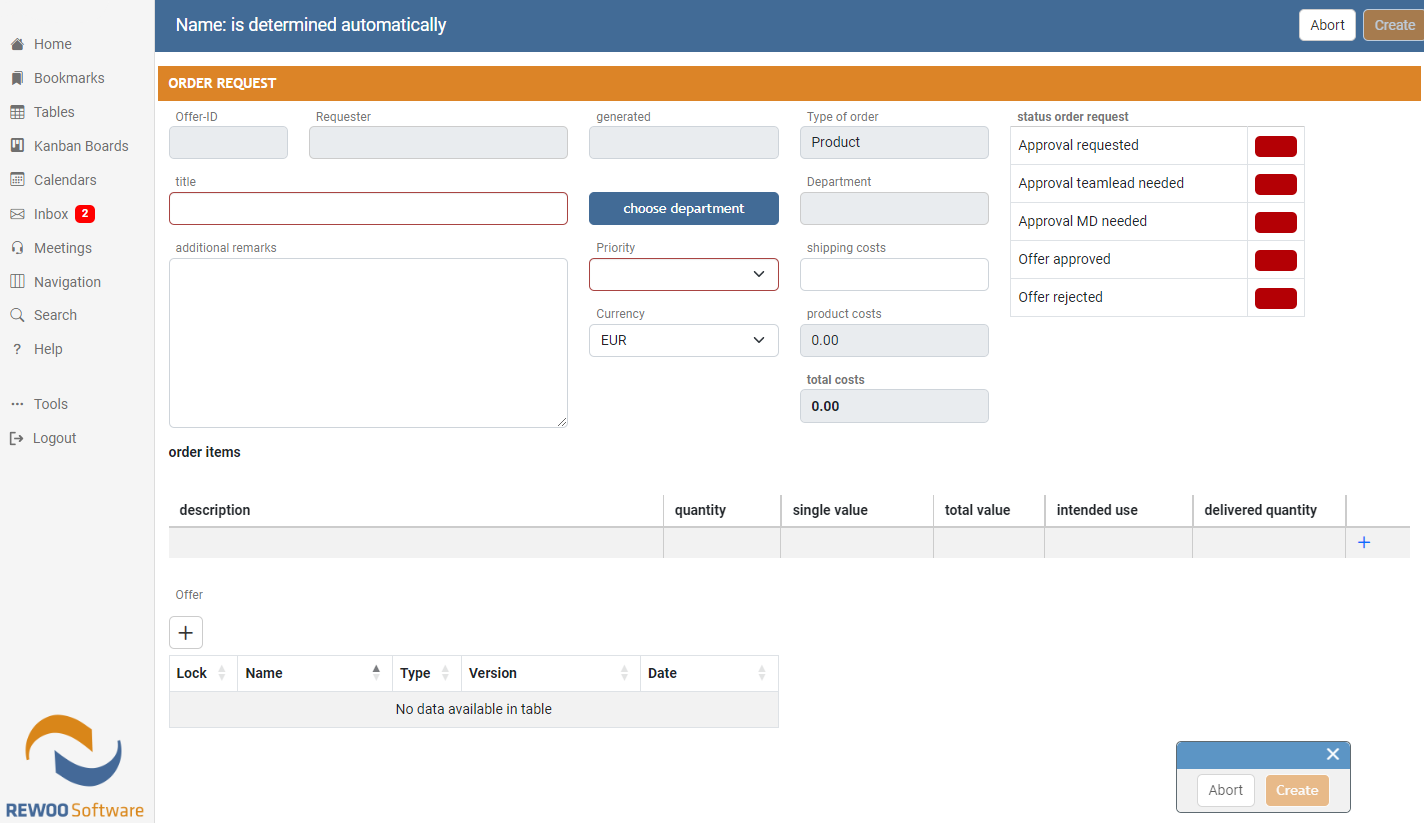
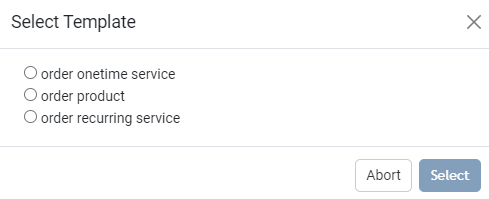
Add Forms
New forms can be added using a Copy Button.
If the button configuration includes multiple source templates a selection menu will be shown to allow the user to select which kind of form template should be used for creation.
The button can have different possibilities to add new forms:
Without Form
In this case a click on the button creates the configured form without any further user action.With Form
In this case the user will see the form to be created after clicking on the Copy Button. The new form will only be created if the user clicks on the create button afterwards.Connect Forms
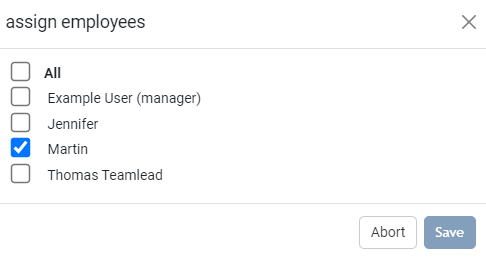
It is possible to connect different forms with each other by using the Connection Button. Connecting forms together is in most cases needed to grant permissions to the form for other users, for example to assign an employee to a department. The connection betweent two forms can include read, write, admin or no permissions, depending on the configuration of the connection type.Depending on the button configuration the user gets a selection of possible targets to chose from. The button can also be configured to connect to targets without asking the user for a selection of targets, e.g. if the system has automatically calculated the relevant targets.
Comments
Comments can be used to add additional information without adding it to the form directly. Comments are available as a standalone part connected to the form. They won't appear in the form history and can be deleted by the author or the admin users. They appear as an overlay sidebar on the right side of the screen.
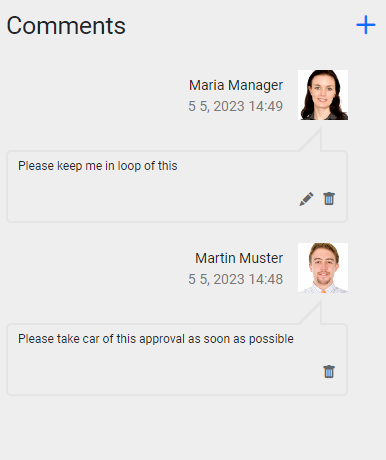
If at least one comment is available a buuble icon will appear in the menu bar.

Depending on your system settings comments are individual for each form or for a group of forms.
States
Each Form has a state. Depending on the state, the form is editable or not. The current state of each form is shown in the footer.
There are three possible start states: Template, In Planning, and Active. There are two final states: Archived and Rejected. FormsElements with one of these statuses cannot be moved to any other state.
Template
A template can only be seen and edited by administrators and power users. Connection have no effect on visibility and authorization. Forms can be filled out, but the values are not versioned. Formulas are evaluated. Referenced values from Template, In Planning, Active, Inactive and Closed are considered. The state of templates cannot be changed. They can only be archived or copied to a real state (In Planning or Active).
In Planning
This is a prestage of the state Active which is optional and used only in certain scenarios. A form with this state is a full-fledged form. Authorization is governed by connections, formulas are evaluated, values can be changed. This state can be changed to Active, Closed, Archived and Rejected.
Active
Active is the normal state of form which allows user interaction. Active forms can change their state to On Hold, Closed, Archived and Rejected.
On Hold
Forms with the state On Hold can't be edited. Formulas on the form are still active. Form swith this state can be change to Active, Closed, Archived and Rejected.
In most cases this state is used to freeze the form for a certain period of time. As this state can be reversed to Active again it is sometimes uses as a prestage before closing a form.
Closed
The values of closed elements can no longer be changed - not even by formulas. If the values of closed forms are referenced in formulas, they are still included in the calculations. Closed elements can only be transferred to the statuses Archived and Rejected. Unlike the On Hold state forms can't be reactivated if the were closed.
Archived
This is one of the two final states. Forms can no longer be transferred to another state. Values of archived forms are no longer taken into account in calculations.
Rejected
This is one of the two final states. Elements can no longer be transferred to another state. Values of rejected forms are no longer taken into account in calculations.
Unlike archived forms forms with this state won't be included in search results and won't be visible to the users anymore.
History / Version Control
The history of form changes can be opened by clicking the corresponding menu entry in the form menu.The histroy shows all changes made to the current form. This includes all changes to input fields or changes on uploaded documents. Each saved change automatically creates a new version entry in the history including the timestamp of the change, the author name and all related fields.
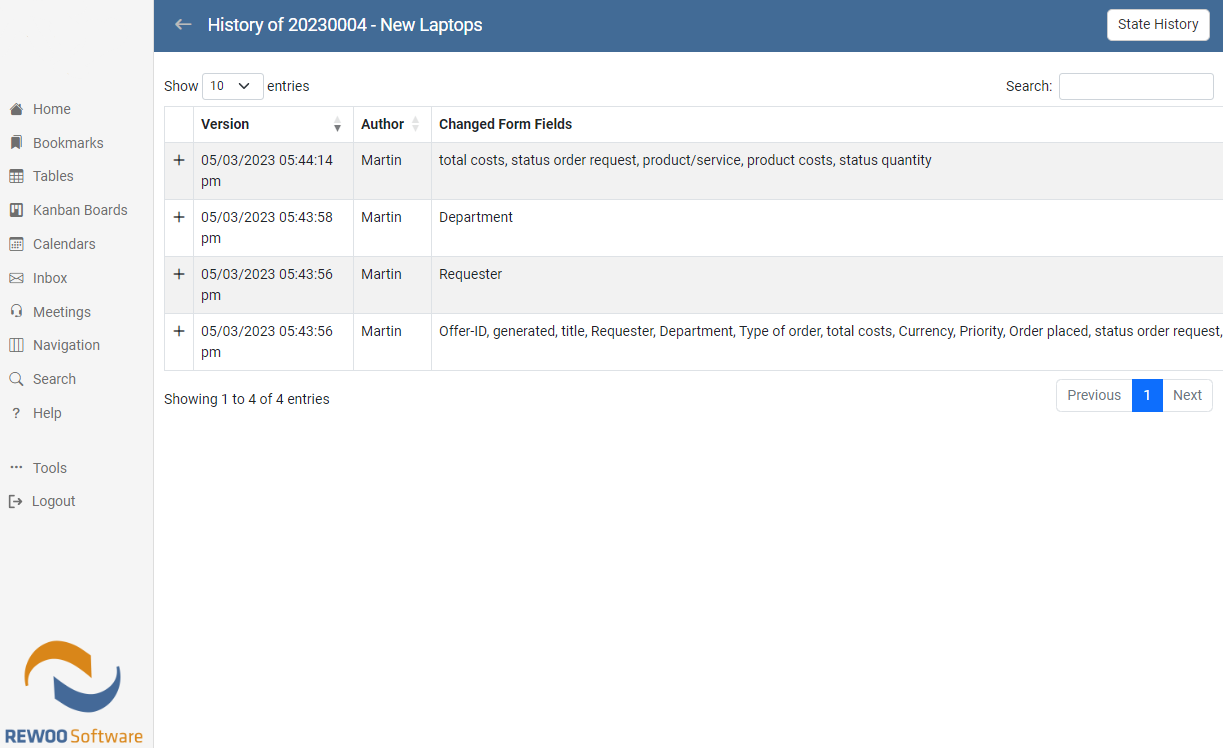
You can open each line by clicking on the + Icon to get detailed information of the changed values.
Sometimes a value change by a user can trigger further form field to change their value. Those fields will also be included in the line of the version.
The filter box on the upper right corner allows to filter for version timestamp, author or field name.
To navigate back to the form you can click on the arrow icon on the left in the menu bar.